Getting a new phone, tablet, or smartwatch should feel exciting. However, when it comes to NDIS device setup, many NDIS participants find themselves staring at confusing setup screens, wondering why the process seems designed for people who don’t face the same challenges they do. If you’ve ever felt frustrated trying to set up a new device, you’re not alone.
The standard setup instructions assume everyone has the same abilities and skip over considerations that matter when you’re dealing with a disability. This guide approaches NDIS device setup differently, acknowledging the real challenges and offering practical solutions that actually work.

Why Device Setup Feels Impossible Sometimes
Technology companies design their setup processes for people who can see small text clearly, have steady hands, and don’t need assistive features until later. When you have a disability, this backward approach creates unnecessary frustration. You end up fighting with default settings instead of customising the device for your needs from the start.
Most NDIS participants encounter three main problems during device setup: unclear instructions that don’t account for different abilities, accessibility features buried deep in menus, and error messages that don’t explain what actually went wrong. Understanding these common issues helps you prepare for them instead of being caught off guard.
The key to successful NDIS device setup is flipping the usual process. Instead of getting the device “working” first and adding accessibility later, you configure accessibility features immediately and build everything else around them. This prevents having to relearn interfaces after you’ve already started using the device.
Pre-Setup Preparation That Actually Matters
Before touching your new device, gather these essentials and have them written down clearly:
- Your Apple ID or Google account email and password
- WiFi network name and password (including any special characters)
- Phone number for verification codes
- Emergency contact information
- Medical ID details if relevant
Create a workspace that supports successful NDIS device setup. This means consistent lighting that won’t create screen glare, comfortable seating with proper support, and easy access to power outlets. If you have motor difficulties, consider using a device stand or placing soft cushions around your workspace to prevent damage from drops.
Many people underestimate how long device setup takes. Plan for at least an hour of focused time when your symptoms are typically manageable. Rushing through NDIS device setup often leads to mistakes that require starting over completely.

iPhone and iPad Setup: Getting Accessibility Right First
When you power on an iPhone or iPad, the setup wizard presents screens in a specific order. Most people rush through language and region settings to get to the “important” stuff, but NDIS participants need to slow down here. Before even connecting to WiFi, you can access basic accessibility options.
Triple-click the home button (or side button on newer models) at any point during setup to reveal accessibility shortcuts. This lets you enable larger text, voice commands, or screen reading before you need to read small text or navigate complex menus. Many people don’t know this shortcut exists, which is why they struggle with tiny fonts during the rest of setup.
Essential iOS Accessibility Settings for NDIS Device Setup
Enable these immediately after WiFi connection:
- Voice Control allows navigation entirely by voice commands when motor skills make touch difficult
- AssistiveTouch creates customisable on-screen buttons for complex gestures
- Zoom: Triple-tap anywhere to magnify screen content up to 15x
- Switch Control is very useful if you use external adaptive switches
- Reduce Motion minimises animations that can trigger vestibular issues
WiFi connection trips up many people during NDIS device setup. Network names with special characters, lengthy passwords, and case-sensitive requirements create problems even for people without disabilities. If you have vision difficulties, use the “Speak Screen” function to have network names read aloud. For motor challenges, remember that WiFi passwords are case-sensitive, so take time with each character rather than rushing and having to restart.
Face ID and Touch ID setup often frustrates NDIS participants because the instructions don’t account for different physical abilities. Face ID generally works better for people with motor impairments, but requires holding your head steady at the correct distance. Position yourself 10-20 centimetres from the screen and move your head slowly in the full circle. If you have tremor conditions, try setup when symptoms are minimal, or ask someone to hold the device steady while you move your head.
Android Device Setup for NDIS Participants
Android takes a more upfront approach to accessibility during NDIS device setup. During the initial language selection screen, look for the accessibility button and tap it immediately if you need screen reading, magnification, or voice commands. This saves time and prevents frustration later.
Key Android Accessibility Features to Enable Early
- TalkBack: Complete screen reading for navigation by voice
- Select to Speak: Allows you to tap specific text to have it read aloud
- Live Transcribe: Converts speech to text in real-time
- Sound Amplifier: Enhances audio through headphones for hearing difficulties
- Voice Access: Navigate your entire device hands-free
Google account sign-in presents unique challenges during NDIS device setup. If typing is difficult, Android’s voice-to-text feature works well for passwords, though you’ll need a quiet environment for accuracy. Consider setting up two-factor authentication with voice calls rather than text messages if dexterity makes typing verification codes problematic.
The Google Assistant setup process often confuses NDIS participants because it requires speaking clearly in a potentially noisy environment. If you have speech difficulties, you can skip this step initially and configure voice recognition later when you have more privacy and time to train the system properly.
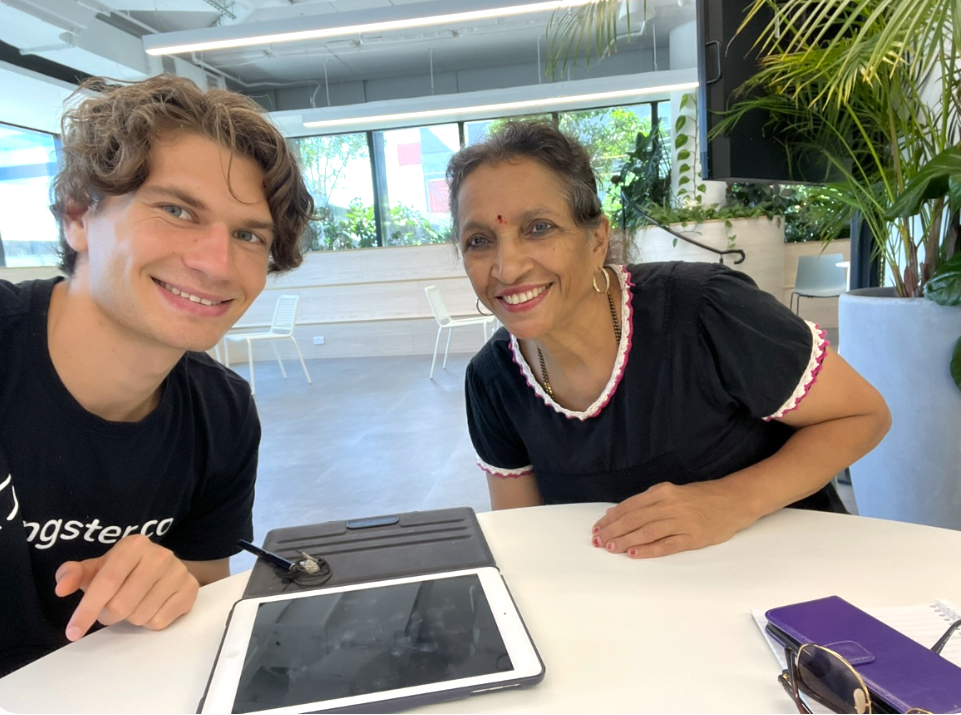
Finding device setup overwhelming? Book 1:1 tech training sessions with a friendly youngster who can walk you through setup and teach you to use your device confidently.

Smartwatch Setup: The Hidden Challenges
Smartwatches present unique obstacles during NDIS device setup because they depend heavily on paired phones and assume certain motor abilities that many participants don’t have. The pairing process often requires holding devices close together while performing specific gestures, which can be impossible for people with limited arm mobility or severe tremor.
Before starting smartwatch setup, ensure both your phone and watch have at least 50% battery charge. Position yourself somewhere comfortable where you can maintain the devices close together for several minutes without strain. If motor difficulties make holding both devices problematic, ask someone to help with positioning while you handle the screen interactions.
Critical Smartwatch Accessibility Settings
Configure these immediately after pairing:
- Larger text and bold fonts: Essential for readability on small screens
- AssistiveTouch for Apple Watch: Control without touching the screen
- Wrist detection settings: Keeps watch unlocked when worn properly
- Emergency SOS configuration: Critical safety feature for many NDIS participants
- Crown sensitivity: Adjust digital crown response for motor difficulties
Emergency SOS setup deserves special attention during NDIS device setup. This feature can automatically contact emergency services and your designated contacts when you’re unable to use your phone normally. Configure it carefully with your specific medical conditions and emergency contact preferences in mind.
Storage and Backup: Preventing Future Headaches
One of the biggest mistakes people make during NDIS device setup is ignoring storage and backup configuration. Your device will fill up eventually, and when it does, you’ll face difficult decisions about what to delete under pressure. Setting up automatic backups and cloud storage during initial setup prevents this crisis.
Enable automatic photo backup to cloud services immediately. Photos consume more storage space than any other content type, and losing precious memories due to device failure or storage problems causes genuine heartbreak for many NDIS participants. Configure your backup preferences when you have time to make thoughtful decisions.
Smart Storage Management from Day One
- Enable automatic app cleanup: Remove unused apps automatically
- Configure cloud photo storage: Upload photos immediately to prevent loss
- Set app download restrictions: Prevent accidental large downloads on mobile data
- Enable automatic backup scheduling: Daily backups during charging and WiFi connection
Most NDIS participants don’t realise that deleted photos often recover for 30 days in a “Recently Deleted” folder, which still consumes device storage. Empty this folder manually if you’re running low on space, but be certain you’ve backed up anything important first.
When NDIS Device Setup Goes Wrong
Device setup fails sometimes, even for technology professionals. Companies don’t always admit this, but their setup processes contain genuine design flaws that frustrate everyone, not just people with disabilities. Common failure points include WiFi password recognition problems, account verification delays, and accessibility features that don’t work as described in the documentation.
When setup fails repeatedly, take a break and try again later rather than pushing through frustration. Many NDIS participants discover that setup works better during certain times of day when their symptoms are less pronounced or when they feel more patient and focused.
Troubleshooting Common NDIS Device Setup Problems
WiFi Connection Failures: Double-check password case sensitivity and special characters. Try connecting to a mobile hotspot to isolate whether the problem is your home network or the device.
Account Verification Issues: Ensure your phone number is correct and can receive SMS messages. If verification codes aren’t arriving, try requesting voice call verification instead.
Accessibility Features Not Working: Some features require device restarts to activate properly. Power off completely and restart if voice commands or switch control aren’t responding.
Setup Process Freezing: Force restart by holding power and volume buttons simultaneously for 10 seconds. This rarely causes data loss during initial setup.
Struggling with repeated setup failures? Our tech-savvy youngsters specialise in patient, one-on-one device setup for NDIS participants. Request a session to get your technology working properly.

Professional Help: When and How to Get It
Professional assistance with NDIS device setup makes sense when you’ve attempted the process multiple times without success, when accessibility features aren’t working as expected, or when the device will be used for safety or emergency purposes. Don’t view this as failure – technology setup is genuinely difficult, and professional help often resolves issues quickly that could take hours to figure out independently.
NDIS funding covers device setup and technology training when these services support your independence goals. Setup assistance falls under capacity building or daily living categories, depending on how you’ll use the device. Professional trainers familiar with disability considerations can configure accessibility settings properly and teach you maintenance tasks like backup and storage management.
Questions to Ask Your Technology Trainer
- “Can you show me how to access emergency features quickly if my condition worsens?”
- “What happens if I accidentally change an important accessibility setting?”
- “How do I restore my backup if something goes wrong with the device?”
- “Can you write down the steps for [specific recurring task] I’ll need to do independently?”
Professional NDIS device setup works best when you prepare specific questions beforehand and when your trainer understands your particular disability considerations rather than making assumptions about what assistance you need.
Customising Your Device After Setup
Once your NDIS device setup is complete, spend time making the device truly yours. Organise apps by frequency of use rather than alphabetical order. Configure notification settings to prevent overwhelming alerts that can trigger anxiety or sensory issues. Test all accessibility features you enabled to ensure they work reliably in real-world conditions.
Practice essential daily tasks while you’re still in a learning mindset. Make test phone calls, send practice messages, and use your most important apps. Access emergency features to verify they work quickly when you need them. This practice identifies any remaining configuration issues while you have patience to address them properly.
Essential Customisation for NDIS Participants
- Emergency contacts easily accessible: Configure medical ID and emergency calling
- Medication reminders: Set up recurring alerts for complex medication schedules
- Communication preferences: Configure text size and notification sounds for your specific needs
- App organisation: Group related apps together for easier access
- Backup verification: Confirm automatic backups are actually working
Plan for software updates, which sometimes reset accessibility preferences or change interface elements you’ve learned to navigate. Enable automatic security updates for protection, but consider manual approval for major system updates that might disrupt your familiar interface.
Preparing for Long-term Success
Successful NDIS device setup extends beyond the initial configuration. Keep your technology trainer’s contact information accessible for follow-up questions that often arise during the first few weeks of use. Many NDIS participants discover new needs or challenges as they begin using their device in real-world situations.
Document your custom settings and configuration choices. Write down accessibility features you use, app organisation systems you’ve created, and any special procedures you’ve developed. This information becomes invaluable if you need to set up a replacement device or help someone else configure similar accessibility features.
Consider your device an investment in independence rather than just a piece of technology. Properly configured devices enable NDIS participants to maintain social connections, manage health information, access emergency services, and participate more fully in their communities. Taking time to set up your device thoughtfully supports these larger goals.
Ready to master your new device? Book ongoing 1:1 tech training sessions through your NDIS plan. Our youngsters provide personalised support at your home, local library, or café.
Device setup shouldn’t prevent you from accessing technology that improves your quality of life. When standard instructions don’t work for your situation, that reflects poor design choices, not your capabilities. Take the time you need, ask for help when it’s beneficial, and remember that successful NDIS device setup often requires multiple attempts, even for people who work with technology professionally.
NDIS participants can access professional device setup and technology training through their plans. These services support independence goals and ensure your devices work properly from day one. Contact your support coordinator to explore your options.
Are you an NDIS provider?
See our NDIS Provider page here.